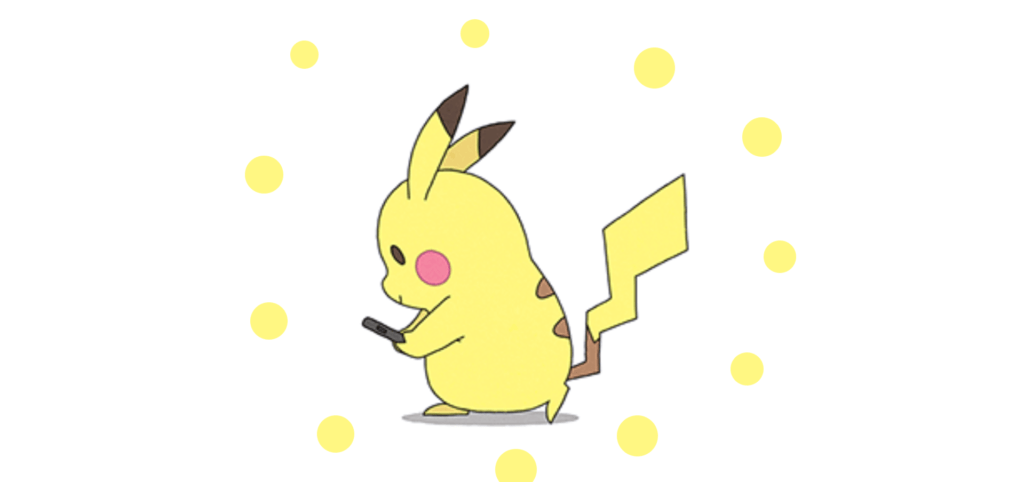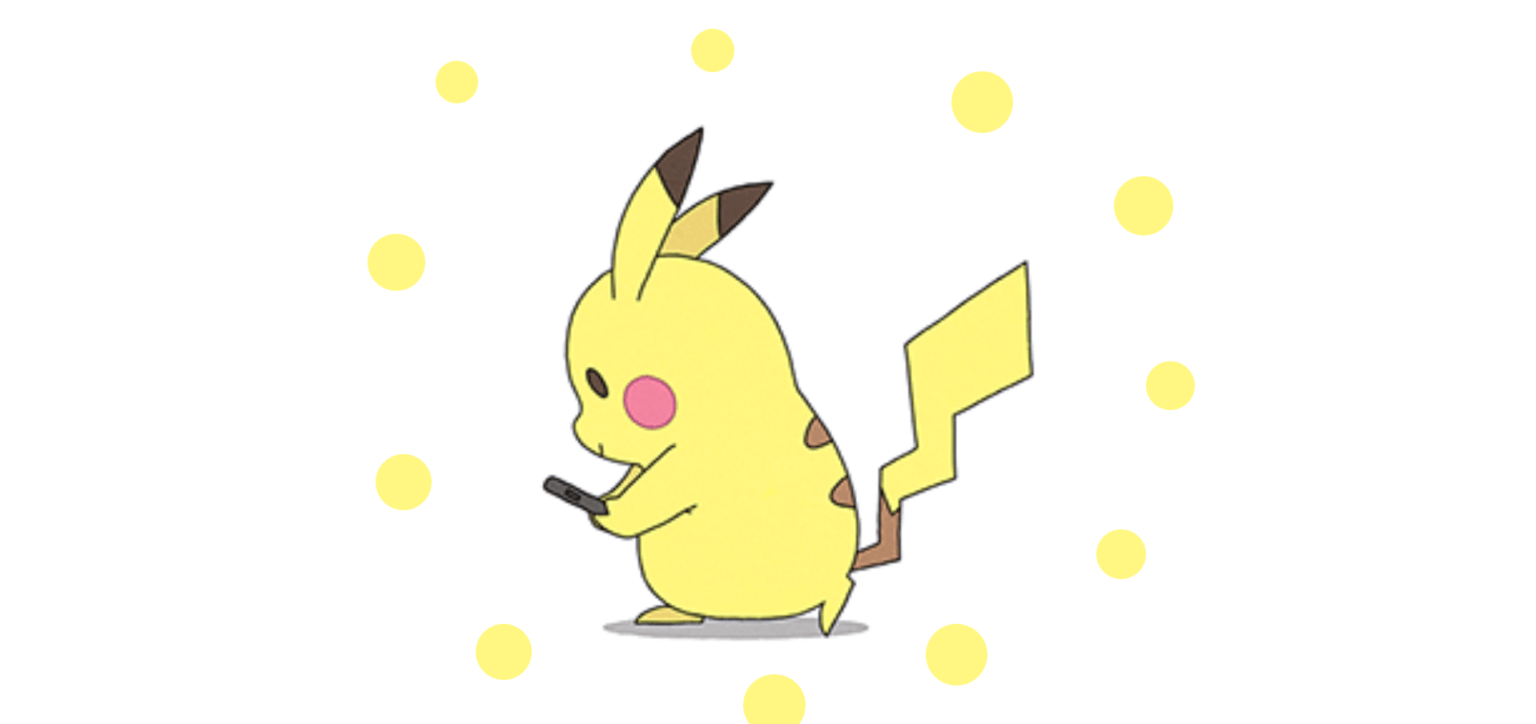
In this tutorial, we will create a Pikachu loading animation using HTML, CSS, and JavaScript. This animation displays a Pikachu GIF while the page is loading and includes a fun mouse-following effect. Let’s break down the code step by step.
HTML Code
First, let’s look at the HTML structure.
					<!DOCTYPE html>
<html lang="en">
<head>
  <meta charset="UTF-8">
  <title>CodePen - Pikachu Loading Page</title>
  <link rel="stylesheet" href="./style.css">
</head>
<body>
  <div class="loading">
    <img decoding="async" src="http://a.top4top.net/p_1990j031.gif" alt="Loading">
  </div>
  <div class="mouse original"></div>

  <script src='https://code.jquery.com/jquery-2.2.4.min.js'></script>
  <script src="./script.js"></script>
</body>
</html>
Explanation:
- DOCTYPE: Declares the document type.
- HTML Tag: Root element of the HTML document.
- Head Section: Contains meta information, title, and links to the CSS file.
- Body Section: Contains the loading animation container and a div representing the mouse effect.
- Script Tags: Include jQuery and our custom JavaScript file.
CSS Code
Next, we style our loading animation and mouse effect:
					* {
    cursor: none
}

body {
    overflow: hidden
}

.loading {
    background-color: #FFF;
    width: 100%;
    display: fixed
}

.loading img {
    display: block;
    min-height: 209px;
    min-width: 200px;
}

.mouse {
    width: 25px;
    height: 25px;
    border-radius: 100%;
    background-color: #fff782;
    position: absolute;
    animation: mouseAnimation .5s infinite ease-in-out alternate;
    left: 0;
    top: 0
}

@keyframes mouseAnimation {

    from {
        width: 25px;
        height: 25px
    }

    to {
        width: 15px;
        height: 15px
    }

}
Explanation:
- Universal Selector (*): Hides the default cursor.
- Body: Hides overflow to prevent scrolling.
- Loading Class: Styles the loading container.
- Loading Image: Centers the loading image.
- Mouse Class: Styles the mouse effect div with a pulsating animation.
- Keyframes: Define the animation for the mouse effect.
JavaScript Code
Finally, let’s make the animation dynamic with JavaScript:
					$(".loading").height($(window).height());
$(".loading").width($(window).width());

$(".loading img").css({
    paddingTop: ($(".loading").height() - $(".loading img").height()) / 2,
    paddingLeft: ($(".loading").width() - $(".loading img").width()) / 2
});

$(window).resize(function () {
    "use strict";

    $(".loading").height($(window).height());
    $(".loading").width($(window).width());

    $(".loading img").css({
        paddingTop: ($(".loading").height() - $(".loading img").height()) / 2,
        paddingLeft: ($(".loading").width() - $(".loading img").width()) / 2
    });
});

$(window).mousemove(function (e) {
    "use strict";

    $(".original").css({
        left: e.pageX - 16,
        top: e.pageY - 16
    });
});

$("body").on("click", function (e) {
    "use strict";

    $(".original").clone(true).appendTo("body").css({
        left: e.pageX - 16,
        top: e.pageY - 16
    }).removeClass("original");
});
Explanation:
- Initial Setup: Set the loading container to full window size and center the image.
- Resize Event: Adjust the container and image positioning on window resize.
- Mousemove Event: Move the
mousediv to follow the cursor. - Click Event: Clone the
mousediv at the click position, creating a trail effect.
Live Preview Of Pikachu Loading Animation
See the Pen Pikachu Loading Page by Codewithshobhit (@Codewithshobhit) on CodePen.
Conclusion
By combining HTML, CSS, and JavaScript, we’ve created an engaging Pikachu loading animation with a fun mouse-following effect. This example demonstrates how to integrate animations and interactivity to enhance user experience on your web pages. Feel free to customize the styles and animations to suit your needs!


